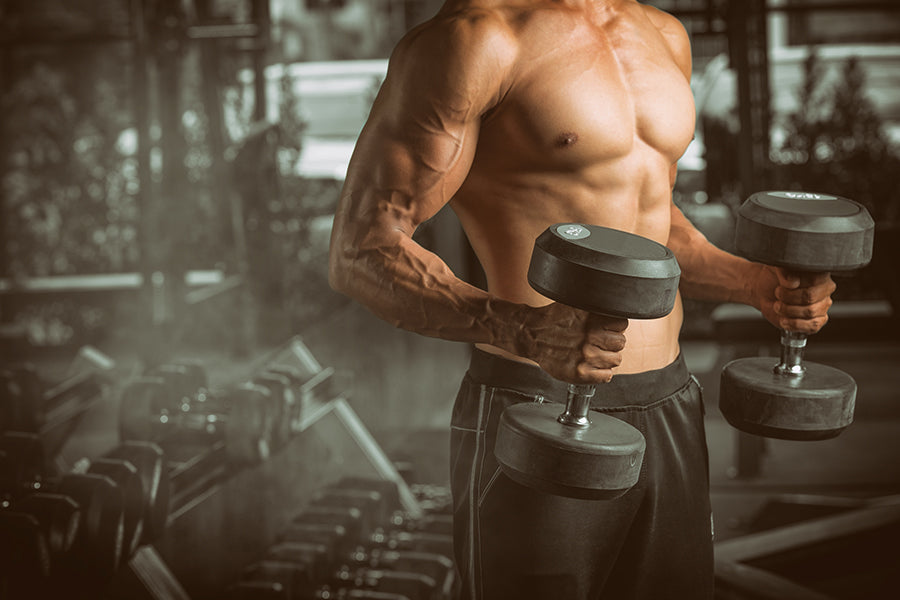
If you’ve ever looked in the mirror and felt like your chest just looks… kinda flat on top, you’re not alone. I used to do regular push-ups and bench presses all the time, but my upper chest never really popped. My shirts fit weird, and I couldn’t figure out why my pecs looked bottom-heavy.
That’s when a buddy at my local gym in Dallas told me about the incline dumbbell press. He was like, “Bro, you’re missing the most important angle.” And honestly, he was right. Once I added this move into my weekly workouts, I finally saw that fuller, more rounded chest look.
If you’ve been trying to build that upper chest and just aren’t seeing results, this one’s for you. You don’t need a ton of fancy equipment or a gym membership. Just a couple dumbbells and a bench that adjusts. Let’s break it all down step by step, with some personal stories and tips to help you get started.
What is the Incline Dumbbell Press?
Alright, real simple.
The incline dumbbell press is like a regular bench press, but you’re doing it on a bench that’s tilted upward. Usually around 30 to 45 degrees. You press the dumbbells straight up over your chest, then lower them with control.
Why the incline matters: That angle targets your upper chest muscles more than a flat bench. It also brings in your front shoulders and gives your chest that fuller, rounded shape at the top. You know that high chest line that pops in a tight tee? Yeah, this is how you build that.
What Muscles Does It Work?
This move mostly targets the clavicular head of the pectoralis major, which is just a fancy way of saying “upper chest.” But it also hits:
- Front deltoids (shoulders)
- Triceps (arms)
- Core (for balance)
It’s a compound movement, so it works multiple muscles at once. That’s one of the reasons it helps you build mass and get stronger all over your upper body.
How to Do the Incline Dumbbell Press
Let’s walk through it step by step. Don’t worry if you’re new. I started with just 15 lb dumbbells and worked up over time. It’s not about ego. It’s about getting that form right.
Step-by-Step Guide
- Set your bench at an incline
I like to go for 30 degrees, but anywhere between 30–45 is good. Don’t go steeper or you’ll turn it into more of a shoulder press. - Grab your dumbbells
Start with something light so you can focus on form. Even 10–15 lbs is fine to begin with. - Sit back and plant your feet flat
Keep your back against the bench and make sure your feet are grounded. This keeps you stable when you press. - Hold the dumbbells at chest level
Palms facing forward. Your elbows should be bent and slightly below the bench. - Press the dumbbells upward
Push the weights up over your chest until your arms are straight but not locked. Don’t let the dumbbells touch at the top. - Lower slowly
Bring them back down with control. Don’t drop them or bounce off your chest. - Repeat
Try 3 sets of 8–12 reps to start.
Why I Swear By This Exercise
When I first added incline dumbbell press into my weekly workouts, I didn’t expect much. I thought it was just a variation of bench press. But within a few weeks, my upper chest started looking tighter and more defined.
Even my girlfriend noticed. She was like, “Your shirts are fitting different. You been working out more?” That’s when I knew it was working.
Also, this move helps balance out your chest. A lot of guys (myself included) overtrain the middle and lower pecs. The incline press makes sure you’re not walking around with that weird bottom-heavy look.
Mistakes to Avoid
Let me save you from some trial and error. These are the mistakes I made early on that slowed down my progress:
- Going too heavy too fast
I tried to lift 40s on day one and almost dropped them on my face. Don’t do that. Start light and get the form down first. - Flared elbows
If your elbows stick out wide like chicken wings, it puts stress on your shoulders. Keep them at about a 45-degree angle. - Bouncing at the bottom
Don’t let the weights crash down. Control them on the way down. That’s where the real growth happens. - Rushing through reps
Slow down. I see this all the time at the gym. Tempo matters. I try to go up in 1 second, pause, then lower in 2–3 seconds.
At-Home Version If You Don’t Have a Bench
No bench? No problem. I didn’t have one at first either. Here’s what I did:
- Use a stability ball
Sit on the ball and walk your feet forward until your back is at an angle. Works great and challenges your core too. - Prop yourself up with pillows
Stack a few firm pillows against the wall and lean back on them while sitting on the floor. It’s not perfect, but it works for beginners.
Weekly Routine for Upper Chest Gains
You don’t need to train chest every day. Twice a week is solid. Here’s what my upper chest routine looked like when I was focused on growth:
Day 1: Push Day (Chest/Shoulders/Triceps)
- Incline Dumbbell Press – 4 sets of 10
- Flat Dumbbell Press – 3 sets of 12
- Dumbbell Flys – 3 sets of 10
- Overhead Shoulder Press – 3 sets of 10
- Tricep Kickbacks – 2 sets of 15
Day 4: Chest Focused Day
- Incline Dumbbell Press – 5 sets (pyramid from 12 reps to 6)
- Incline Push-ups – 3 sets to failure
- Chest Dips – 3 sets of 8–10
- Finish with Dumbbell Pullovers – 3 sets of 12
You can mix and match based on what equipment you have, but just make sure incline press is a priority if your upper chest needs work.
Real Talk: How Long Until You See Results?
I’m not gonna sell you a dream. You won’t grow massive pecs in a week. But with consistent work, proper rest, and decent nutrition, I noticed a difference in about 4–6 weeks.
By week 8, my chest looked fuller in photos. The line between my chest and shoulders was more defined. My posture improved too. Standing taller just became natural.
What helped me was taking weekly progress photos and sticking to a plan. Some weeks felt slow, but looking back, the change was huge.
Extra Tips for Faster Results
- Eat enough protein
I started having a protein shake post-workout. Helped a lot with recovery and muscle repair. - Stretch after your session
Tight pecs can mess up your posture. I added chest stretches after every workout and felt way better. - Sleep matters
Don’t skip sleep. Your muscles grow when you rest. I aimed for 7–8 hours every night. - Keep track of your weights
Write it down. If you did 25 lbs this week, try 30 next week. Small progress adds up. - Breathe right
Exhale on the press up, inhale on the way down. It helps you stay focused and lifts smoother.
My Favorite Gear to Use
If you’re building a home gym setup, here’s what worked for me:
- Adjustable dumbbells – I got mine from Bowflex, but cheaper ones work fine
- Incline bench – Foldable and easy to store
- Resistance bands – For incline push-up variations
- Stability ball – Good for core and chest work
- Mirror – Helps check your form without filming
You don’t need everything on day one. I started with just dumbbells and used my couch as a bench until I saved up.
So if your upper chest is lagging or you’re just getting started with strength training, give incline dumbbell press a solid try. It’s a simple, powerful move that gives real results if you stick with it.