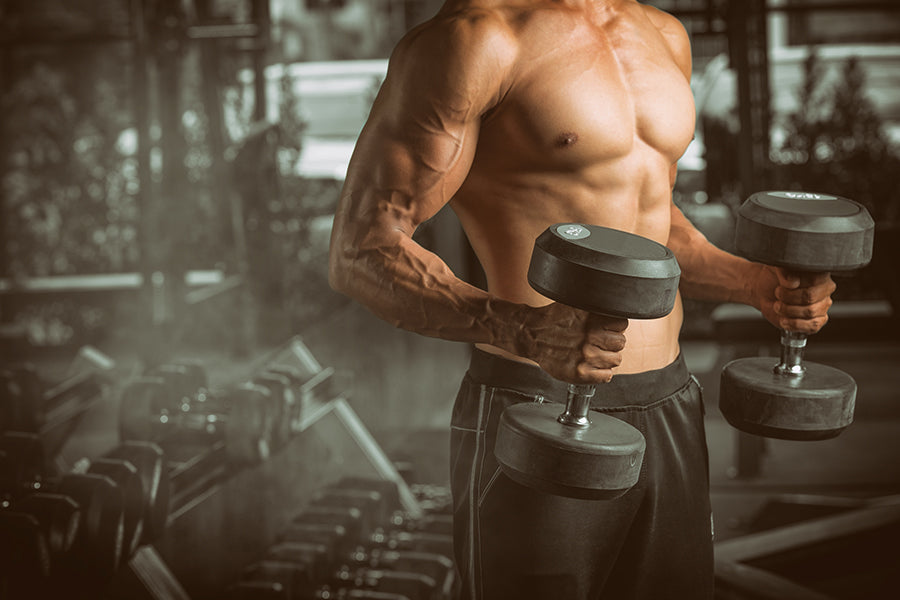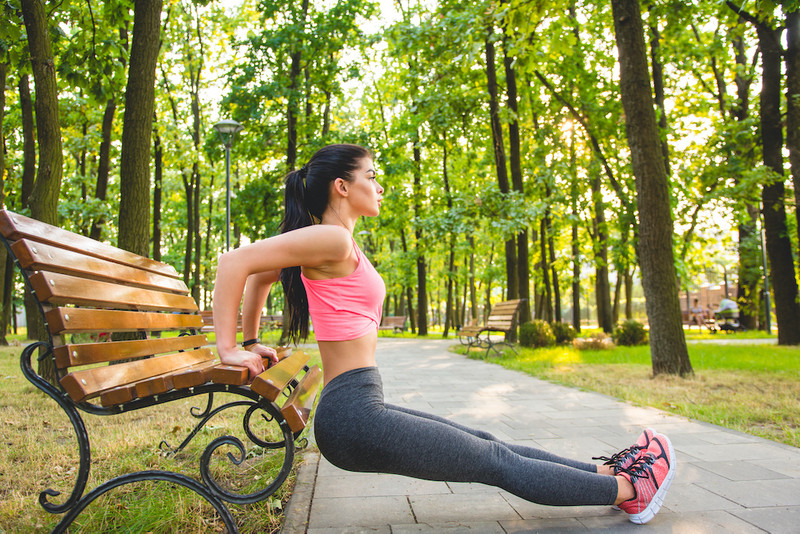
If you’re looking to sculpt a stronger, firmer, and more lifted butt, there’s one move that deserves a permanent spot in your workout: the weighted glute bridge. This simple yet powerful exercise targets the glutes directly, activates the posterior chain, and builds the kind of functional strength that improves both appearance and performance.
The glute bridge is not new, but when you add weight, it becomes a serious tool for shaping your backside. Whether your goal is to grow your glutes, improve hip stability, reduce lower back pain, or enhance athletic power, this movement checks every box.
You don’t need a gym filled with machines. All you need is a bench, some resistance, and solid form. In this guide, we’ll break down everything you need to know about the weighted glute bridge—from proper setup and form to variations, benefits, and a full routine to get results.
What Is the Weighted Glute Bridge?
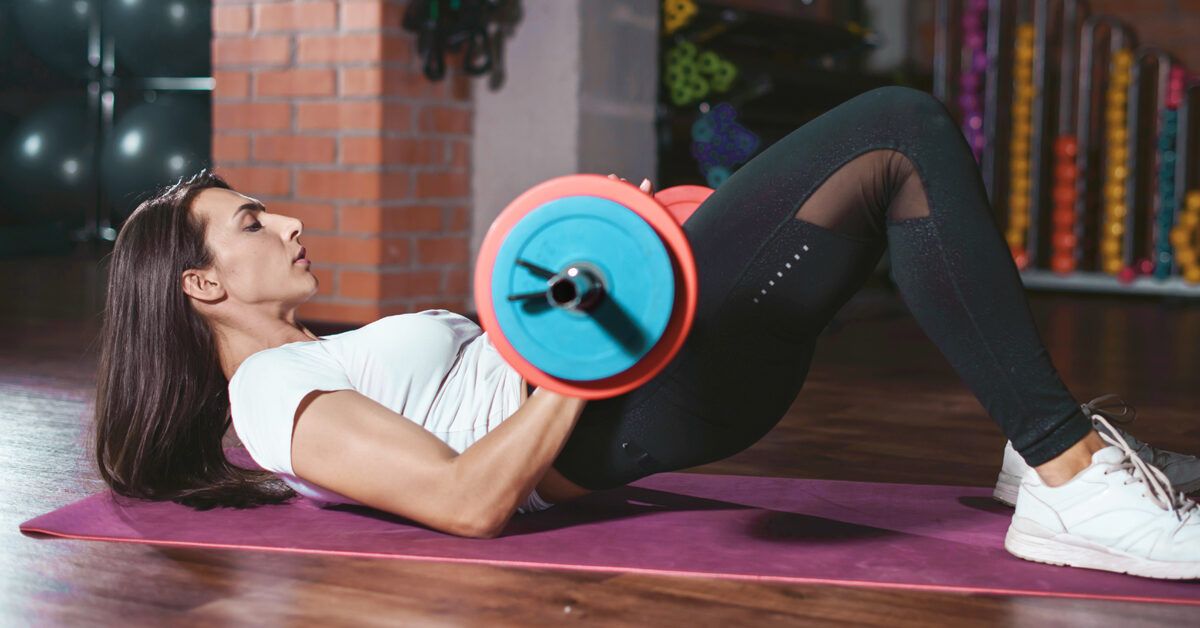
The weighted glute bridge is a lower body exercise that primarily targets the gluteus maximus, the largest muscle in your butt. It’s a progression of the traditional glute bridge, where instead of lifting your hips with bodyweight alone, you place a barbell, dumbbell, or plate across your hips to increase resistance.
This movement is performed lying on the floor with knees bent and feet flat. The goal is to squeeze your glutes and lift your hips upward into a straight line, then lower under control. The added weight increases muscle tension, helping to build strength and hypertrophy.
Muscles Worked
- Primary: Gluteus maximus
- Secondary: Hamstrings, erector spinae, gluteus medius, core
- Stabilizers: Hip flexors, quadriceps, lower back
While it looks simple, the weighted glute bridge works deep into your posterior chain, engaging key muscles that often go undertrained in modern life.
Why You Need to Train Your Glutes
Your glutes aren’t just for looks. They play a critical role in how you move, feel, and function every day. Weak or inactive glutes are linked to:
- Lower back pain
- Knee pain
- Poor posture
- Hip tightness
- Reduced athletic performance
Strong glutes help you run faster, jump higher, lift heavier, and stay injury-free. A strong butt also contributes to spinal alignment and stability through your core and hips.
Benefits of the Weighted Glute Bridge
1. Tones and Builds the Glutes
This is one of the most targeted glute exercises available. The hip thrusting motion directly hits the glute max, helping you lift and shape your butt.
2. Protects Your Lower Back
By strengthening the muscles around the hips and spine, the glute bridge reduces pressure on your lower back and can help relieve pain caused by poor posture or sitting too much.
3. Improves Athletic Power
Explosive hip extension is key for sprinting, jumping, and lifting. Glute bridges improve the exact movement pattern used in many sports and functional activities.
4. Enhances Hip Mobility
This move activates and strengthens the hips, balancing tightness caused by prolonged sitting or poor movement habits.
5. Builds Core Stability
Though it’s a glute-dominant exercise, the bridge also works your core muscles to stabilize your pelvis and spine throughout the lift.
How to Do the Weighted Glute Bridge
Equipment You’ll Need
- A barbell, dumbbell, or weight plate
- Padding or mat for comfort
- Optional: mini resistance band for added glute activation
Setup
- Lie on your back with knees bent and feet flat on the floor, hip-width apart.
- Place your chosen weight across your hips. If using a barbell, a thick pad or rolled towel under the bar is recommended to reduce pressure.
- Engage your core and keep your spine neutral.
Execution
- Inhale to prepare.
- Drive through your heels and squeeze your glutes to lift your hips off the ground.
- At the top, your body should form a straight line from shoulders to knees.
- Pause and hold the contraction at the top for 1–2 seconds.
- Lower your hips slowly back to the starting position.
- Repeat for your desired number of reps.
Breathing Tips
- Inhale as you lower your hips.
- Exhale as you drive your hips up.
Common Mistakes to Avoid
1. Arching Your Lower Back
Hyperextending your spine shifts the work away from your glutes and into your lower back. Keep your ribs down and core engaged.
2. Lifting with Your Quads
Pushing through your toes activates your quads more than your glutes. Keep the pressure in your heels for maximum glute engagement.
3. Incomplete Range of Motion
Don’t stop short at the top. Fully extend your hips and squeeze hard at the peak of the movement.
4. Rushing Through Reps
This isn’t a race. Control the lift and especially the lowering phase for the best results.
5. Letting Knees Cave In
Keep your knees aligned with your toes. Use a mini resistance band above your knees if needed to cue proper position.
Sets and Reps
Your rep scheme depends on your goals:
- Toning and sculpting: 3–4 sets of 12–15 reps
- Muscle growth: 3–5 sets of 8–10 reps with heavier weight
- Strength and power: 4–6 sets of 5–8 reps at near max effort
Rest 45 to 90 seconds between sets depending on the weight used.
Variations to Try
Barbell Glute Bridge
More stable and better for progressive overload. Use a padded barbell and load up for strength gains.
Dumbbell Glute Bridge
Perfect for beginners or those training at home. Place a dumbbell horizontally across your hips and perform the same motion.
Single-Leg Glute Bridge
Lifting one leg increases the challenge and helps fix imbalances between sides.
Glute Bridge with Band
Add a mini resistance band above the knees to activate the glute medius and strengthen your side glutes.
Elevated Glute Bridge
Place your feet on a bench or step to increase the range of motion and further challenge your glutes.
Programming Tips
Include the weighted glute bridge 2–3 times per week in your lower body or glute-focused workouts. It can be used as a main lift or as a burnout finisher.
Example Glute Workout:
- Dumbbell Goblet Squats – 3 sets of 12
- Weighted Glute Bridge – 4 sets of 10
- Walking Lunges – 3 sets of 10 each leg
- Cable Kickbacks – 3 sets of 15
- Band Side Steps – 2 sets of 20
Recovery and Growth
To get the best results from your glute training, don’t forget these essentials:
- Nutrition: Eat enough protein to support muscle repair and growth
- Hydration: Stay hydrated to support performance and recovery
- Sleep: Aim for 7–9 hours per night to allow full recovery
- Mobility Work: Stretch the hip flexors and quads regularly to avoid tightness that can limit your glute engagement
Frequently Asked Questions
Can I Do This Exercise at Home?
Yes. You can use a dumbbell, backpack, or resistance band at home. No fancy equipment needed.
How Is This Different from a Hip Thrust?
The glute bridge is done on the floor, while the hip thrust is performed with your upper back on a bench, giving more range and a slightly different angle. Both are great for glute development.
Is It Safe for Beginners?
Yes. Start with bodyweight to learn the form, then progress to light resistance.
How Soon Will I See Results?
With consistency, good form, and proper nutrition, most people begin to see toning and firmness within 4 to 6 weeks.
The Bottom Line
The weighted glute bridge is one of the most effective exercises for building a round, strong, and toned backside. It’s beginner-friendly, safe on the joints, and incredibly versatile. Whether your goal is aesthetics, strength, or mobility, this movement deserves a regular place in your routine.
Make it challenging. Squeeze at the top. Control every rep. Your glutes will respond.