If you’re trying to tighten your midsection and improve your flexibility at the same time, mastering the Standing Forward Bend Pose—also known as Uttanasana in yoga—is a smart and sustainable way to go about it. This seemingly simple pose offers far more than just a deep hamstring stretch. When done with intention, it can help activate your core, engage your lower belly, and even support digestion.
Let’s dig into why this pose is underrated for building a toned belly and how you can ace it, no matter your flexibility level.
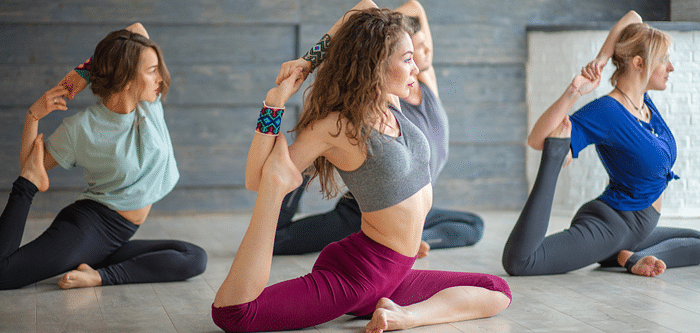
What is the Standing Forward Bend Pose?
In yoga, Uttanasana (pronounced oo-tan-AHS-uh-nuh) is a forward fold done while standing. From the outside, it looks like you’re just folding in half, but it’s much more than that. This pose targets your hamstrings, calves, lower back, and—when done right—your deep abdominal muscles.
It’s a staple in many yoga sequences and works well as a warm-up, a cool-down, or a full-body reset anytime during your day.
Why the Standing Forward Bend Helps Tone Your Belly
So, how does bending over help tighten your core?
- Engages deep core muscles: As you fold forward and pull your belly in, you’re using your transverse abdominis—the deep muscle responsible for flattening your belly.
- Improves blood flow: Being inverted (even slightly) helps freshen up circulation to your core, improving digestion and supporting a healthier gut.
- Builds awareness of posture: Uttanasana teaches you to control your torso from the inside, training the belly muscles to stay engaged even while stretching.
This is especially helpful if you’re dealing with bloating, weak core muscles, or a sedentary lifestyle.
How to Do the Standing Forward Bend (Step-by-Step)
Even if you’re not flexible, don’t worry. The benefits come from the action, not from touching your toes.
Step 1: Start in Tadasana (Mountain Pose)
Stand with your feet hip-width apart. Engage your thighs slightly and lift your kneecaps to energize your legs.
Step 2: Inhale and Reach Up
Lift your arms overhead and lengthen your spine. Imagine growing taller.
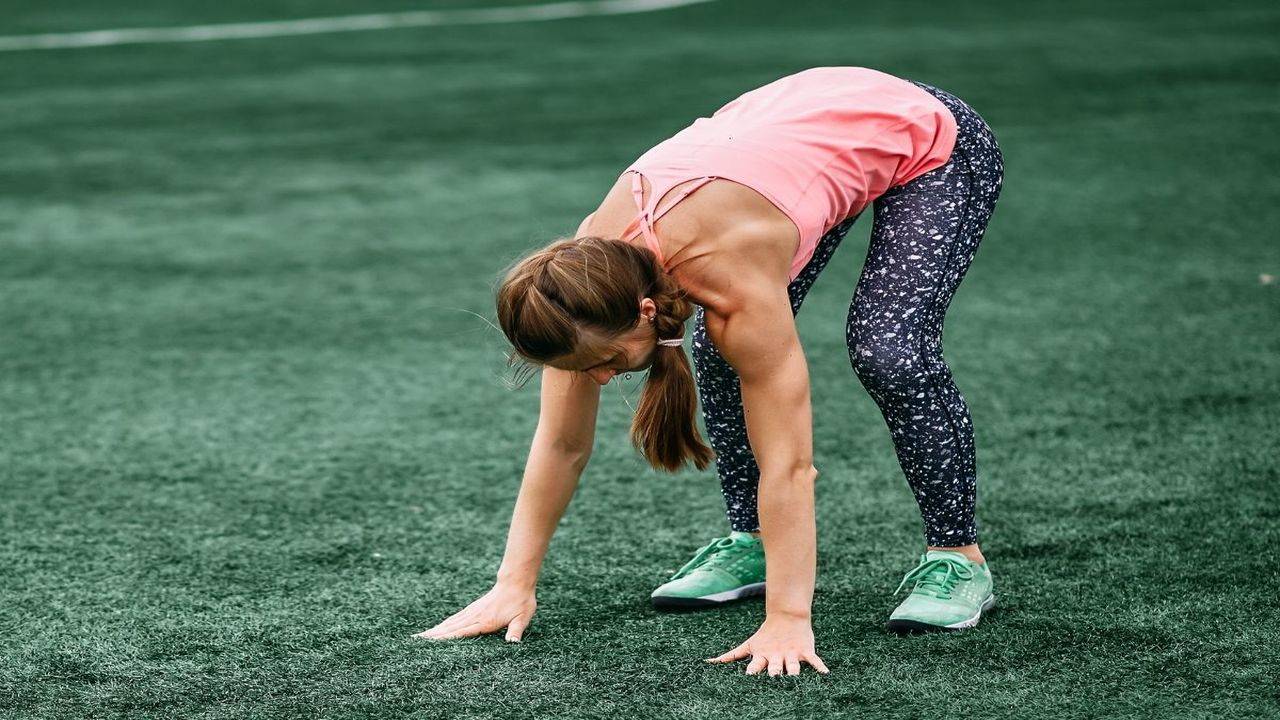
Step 3: Exhale and Hinge from the Hips
With a flat back, hinge forward from your hips (not your waist) and begin to fold.
Step 4: Keep a Micro-Bend in the Knees
Don’t lock your legs. A small bend will protect your back and help engage the core.
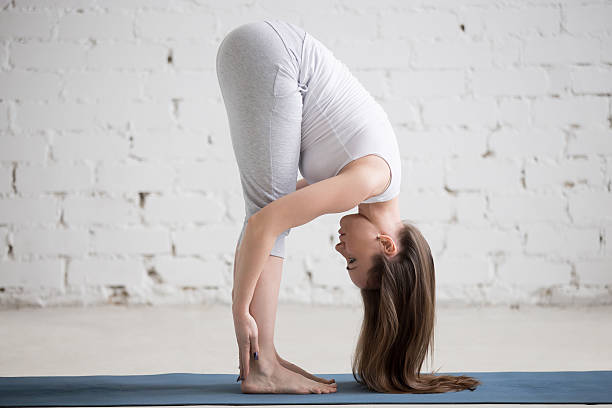
Step 5: Engage the Belly
Pull your belly button toward your spine. Let the chest melt toward your thighs.
Step 6: Let the Hands Rest
Hands can touch the floor, ankles, or shins—wherever they land naturally. Let your head hang heavy.
Step 7: Breathe Deeply
Stay for 30–60 seconds, breathing deeply into the back body and core.
Common Mistakes to Avoid
Even advanced yogis mess this up. Here’s what to watch for:
- Rounding the spine too much: Keep the length in your spine by folding from the hips.
- Locking the knees: This strains your back and blocks the core from activating.
- Holding your breath: Deep, steady breaths keep your muscles soft and your belly engaged.
- Forcing the fold: Flexibility takes time. Work within your range without pushing.
Variations for All Levels
No matter your fitness background, there’s a version of this pose that works for you.
Beginner Modification
Can’t touch your toes? No problem. Place your hands on a yoga block or even on your thighs. Focus on lengthening the spine and engaging the belly.
Intermediate
Try grabbing opposite elbows and letting your upper body dangle like a rag doll. This decompresses the spine and helps your core lengthen.
Advanced
If you’re flexible, slip your hands under your feet (palms up) for Padahastasana. This deepens the stretch while still requiring core control.
How Often Should You Practice This?
You don’t need a 60-minute yoga class to feel results. Just a few rounds of Uttanasana every day can make a difference.
- Morning: Wake up your spine and belly before breakfast.
- Post-workout: Cool down your legs and relax your core.
- Before bed: Help your digestive system reset overnight.
Doing this daily—even for just 2–3 minutes—can help reduce belly bloat, increase flexibility, and make your abs feel more “switched on” throughout the day.
Pairing This Pose with Other Belly-Toning Moves
Want to build an even more effective routine?
Pair your forward bend with these yoga poses:
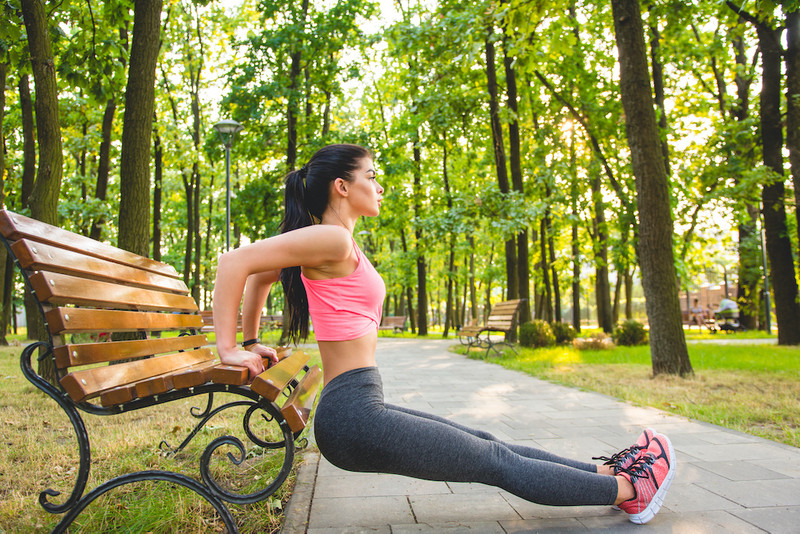
- Plank: Builds core strength
- Boat Pose (Navasana): Tones deep abdominal muscles
- Cobra Pose (Bhujangasana): Strengthens the lower back
- Seated Forward Fold (Paschimottanasana): Targets lower belly and hamstrings
When combined, these moves train the full core area—front, back, and sides—while also improving posture and mobility.
Extra Tips for a Tighter Belly (That Go Beyond the Mat)
Practicing yoga is powerful, but a toned belly also depends on what you do off the mat:
- Stay hydrated: Dehydration can make bloating worse and slow digestion.
- Limit sugar and processed carbs: These can create inflammation and belly fat storage.
- Get enough sleep: Hormones that control weight are regulated during sleep.
- Manage stress: Cortisol (your stress hormone) contributes to fat around the belly.
So don’t just fold forward and forget the rest—adopt a holistic approach for best results.
Final Thoughts
The Standing Forward Bend pose might look basic, but it delivers a powerful combo of core engagement, flexibility, and calming energy—all in one. And if your goal is to flatten or tone your belly, few movements are as efficient, sustainable, and therapeutic.
It doesn’t require a gym. It doesn’t need fancy equipment. Just your body, your breath, and a few minutes of focus every day.
So the next time you’re looking for something effective yet grounding, roll out your mat and fold forward. Your belly (and your back) will thank you.