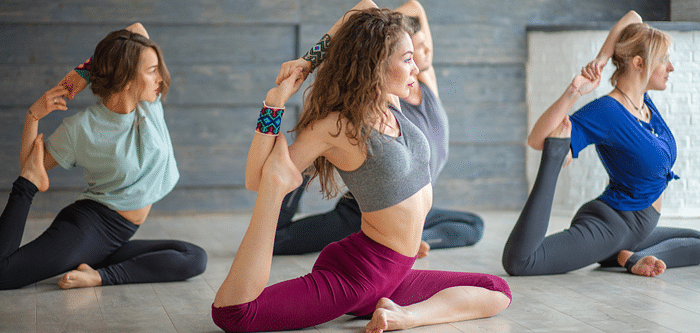
If you’ve ever felt stiff in your lower back or wished your waistline looked a little more snatched, there’s one underrated move you should add to your routine—lower back rotations. This simple twist does double duty: it keeps your lower back happy and mobile while giving your obliques a good workout too. So you get a sleek, strong back and those lovely side curves that make your waist look tighter.
Most people think they need fancy machines or heavy weights to shape their core and protect their lower back. But sometimes, the best results come from the simplest moves. Today, let’s dig deep into lower back rotations—how they work, how to do them right, and how you can use them to get that strong back and curvy waist you’ve been wanting.
What Are Lower Back Rotations?
Lower back rotations are exactly what they sound like—a gentle twist at your spine’s base that helps stretch tight muscles and activate your side abs (obliques). They’re often used in physical therapy to release stiffness and improve spinal mobility, but they’re also a sneaky core move. When done regularly, they help you build strength and flexibility all in one.
You can do them lying on your back, sitting, or even standing. They don’t need any fancy gear. Just a yoga mat and a few minutes.
Why Should You Do Them?
Let’s break down the double benefits:
- Sleek, Strong Back: Many people feel tightness in the lower back from sitting all day. Rotations stretch the small muscles that run along the spine and the deeper muscles that often lock up. Better mobility means less stiffness and lower risk of back pain.
- Curvier Sides: When you twist, you activate the obliques. These side core muscles wrap around your waist like a natural corset. Strengthening them helps tighten your waist and define your side lines, which makes your whole midsection look more toned.
So, one move, two perks—stronger back, sleeker waist.
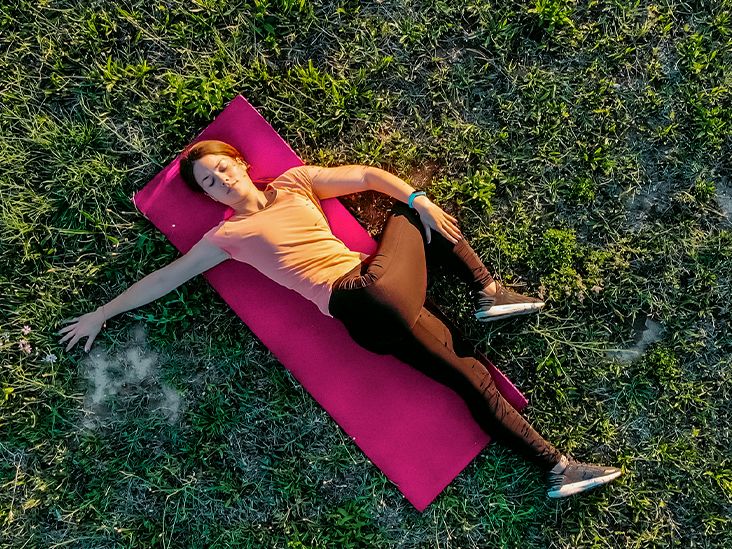
How To Do Lower Back Rotations: Basic Lying Version
This is the classic version. Perfect for beginners and anyone who wants to unwind after a long day.
- Lie on your back on a yoga mat.
- Bend your knees and place your feet flat on the floor, hip-width apart.
- Spread your arms out to the sides so you look like a “T”.
- Keep your shoulders glued to the mat.
- Slowly drop your knees to the right side. Let them lower as far as feels good without lifting your shoulders.
- Feel the stretch in your lower back and side. Hold for 20-30 seconds.
- Bring your knees back to center, then drop them to the left.
- Repeat 5-8 times each side.
Form Tips:
- Move slow. Don’t force the twist.
- Keep your core lightly engaged. This protects your spine.
- Breathe deeply. Exhale as you drop the knees—this helps you relax into the stretch.
Seated Lower Back Rotations
Want to sneak these in at your desk? This seated version is great if you sit for hours.
- Sit tall in a sturdy chair with your feet flat.
- Place your right hand on the back of the chair and your left hand on your right knee.
- Inhale and lengthen your spine.
- Exhale and gently twist your torso to the right, looking over your shoulder.
- Hold for 20-30 seconds, feeling the stretch along your lower back and side.
- Return to center and twist left.
- Repeat a few times each side.
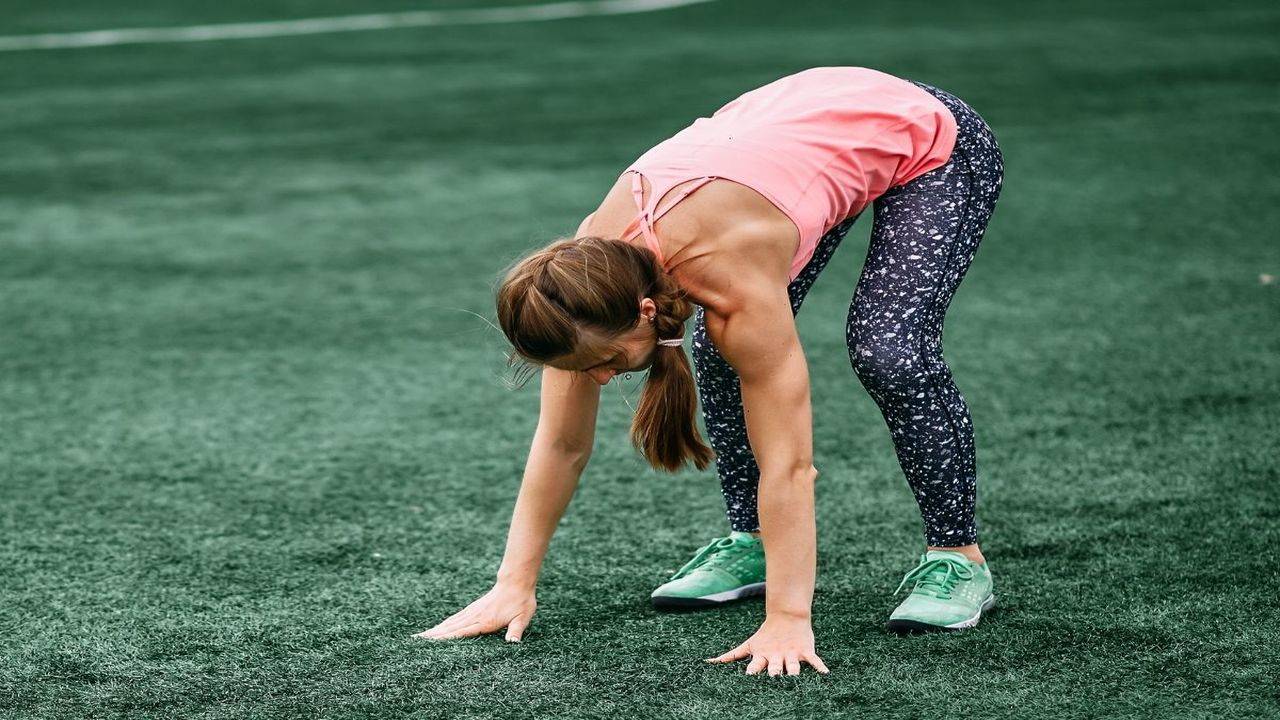
Standing Lower Back Rotations
If you want to activate your core more, try them standing.
- Stand tall with your feet hip-width apart.
- Place your hands on your hips or hold them out to the sides.
- Keep your hips steady and slowly rotate your upper body to the right.
- Pause, squeeze your obliques, then return to center.
- Rotate left.
- Repeat 10-15 times each side.
To make it harder, hold a light dumbbell or medicine ball out in front of you. This adds resistance and works your obliques harder.
Common Mistakes To Avoid
- Over-twisting: Never force your range of motion. Your back should feel a gentle stretch, not pain.
- Holding your breath: Breathe naturally. Exhaling as you rotate helps you twist deeper.
- Speeding through it: Slow, controlled movements get better results than fast, sloppy twists.
How To Add Them Into Your Routine
Lower back rotations are super versatile. Here’s how you can fit them in:
- Morning wake-up: Do a few lying or standing rotations after you roll out of bed. They loosen your back after a night of sleep.
- Post-workout: Use them as part of your cool-down to relax tight muscles.
- Desk break: If you work at a computer, set a reminder to do a seated twist every hour. Your spine will thank you.
Pair Them With These Moves
Want an even stronger core and a more defined waist? Combine lower back rotations with:
- Side planks: These target the obliques too.
- Russian twists: Sit on the floor, lean back slightly, lift your feet, and twist side to side.
- Bird dogs: On all fours, extend opposite arm and leg. Great for lower back stability.
A Few Extra Tips
- Stay consistent. Doing these once won’t change much, but 3-4 times a week will.
- Don’t rush. Feel each stretch and muscle activation.
- If you have chronic back pain, check with a doctor or physical therapist first. Rotations are usually safe, but it’s smart to be sure.
The Takeaway
Lower back rotations are proof that you don’t need to get fancy to get results. They loosen stiff muscles, protect your back, and sculpt your waistline—all in one smooth, simple twist. So next time you feel tight or want to switch up your ab routine, roll out your mat and add a few rotations. One move, two big benefits—your back and waist will look and feel so much better for it.


